How to Self-Tape Like a Professional Actor
Here is the scene: You get an audition request at 4pm. The tape is due by 9am tomorrow. You grab your phone, prop it against a stack of books, find the brightest lamp in the apartment, and record yourself twenty times until one of them feels "okay." You send it. You never hear back.
Across town, an actor with the same talent level — maybe less — has a dedicated self-tape setup. Proper backlight, key light, clean audio, neutral background. It takes them 45 minutes. Their tape goes in looking like a professional production still. They get the callback.
This is not about fairness. This is the reality of the post-2020 acting landscape. The self-tape is now the front door of every casting opportunity. How your tape looks and sounds is a direct signal to casting about what it will be like to work with you on a professional set. A sloppy setup says: this actor does not take their craft seriously enough to invest in the basics. A sharp setup says: this actor shows up ready.
"Your self-tape is not just an audition. It is your production value. It is your first impression on every casting director who will ever consider you — and you are in complete control of it."
— Donnabella Mortel Walker, The Bookable ActorThe Non-Negotiables: What Your Setup Needs
Self-tape equipment does not need to be expensive. It needs to be correct. There is a meaningful difference. Actors spend thousands on acting classes and hundreds on headshots, then record audition tapes with a lamp behind them. The setup is the easiest, cheapest part of the entire equation. Here is exactly what you need:
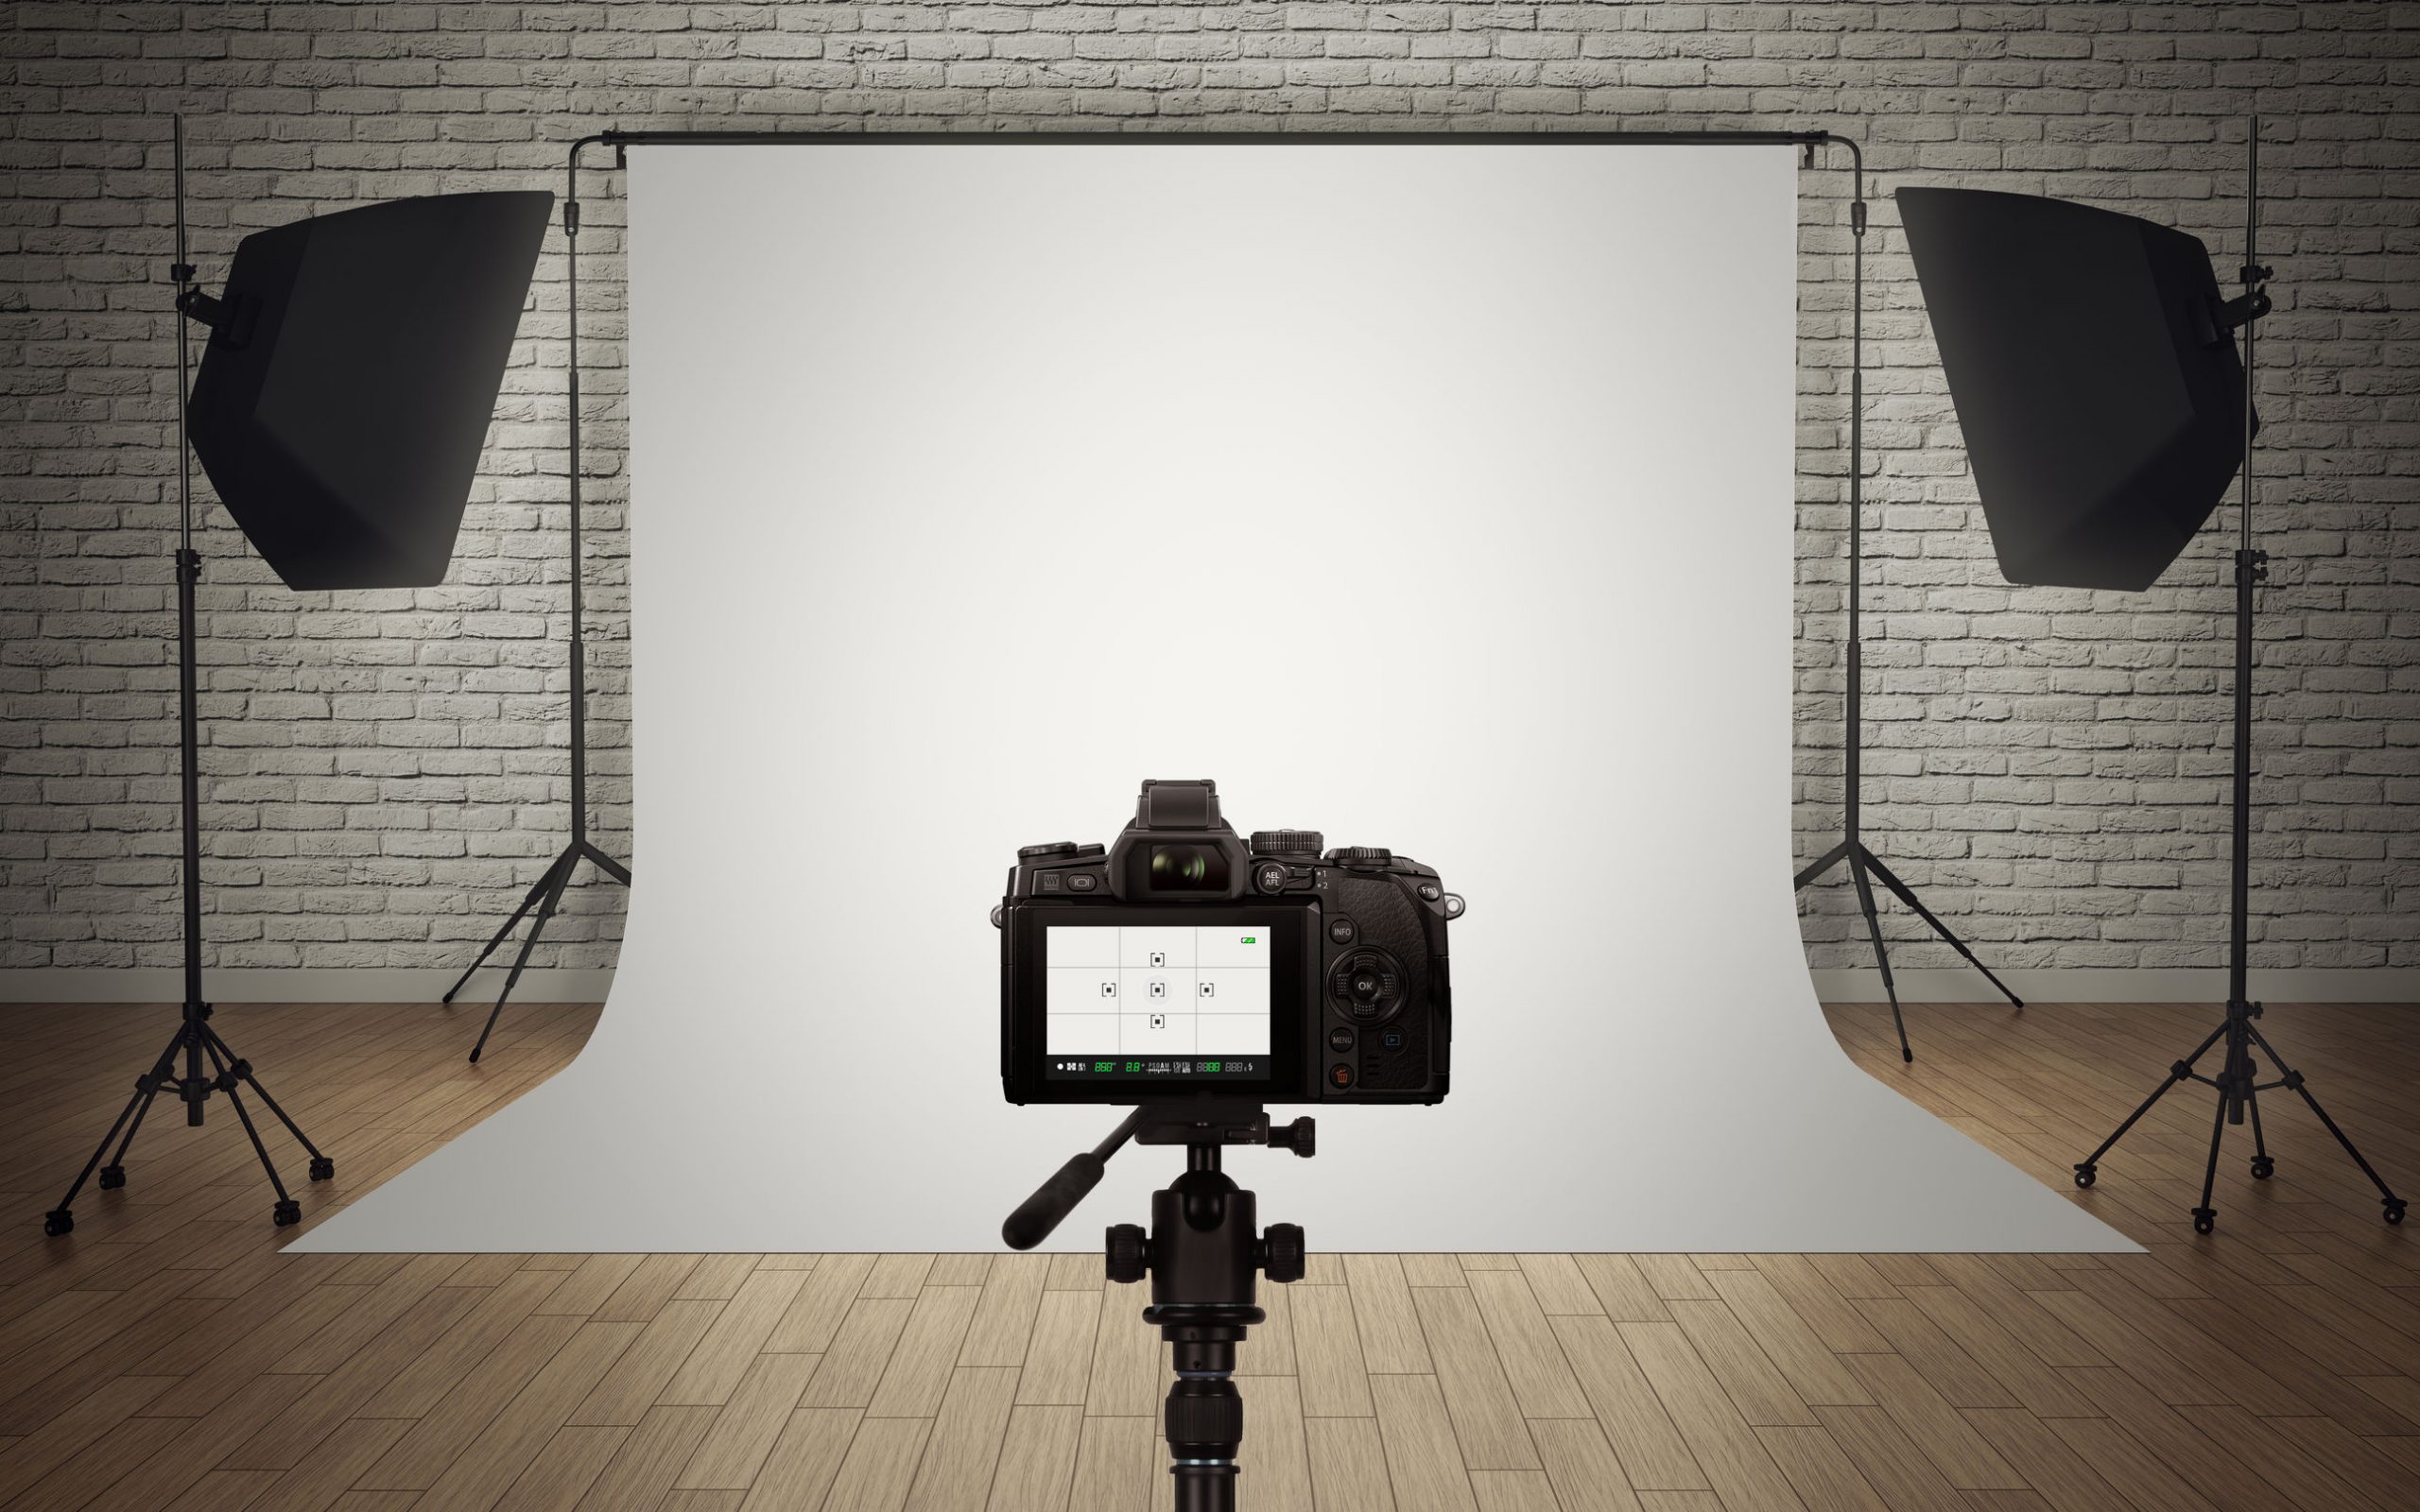
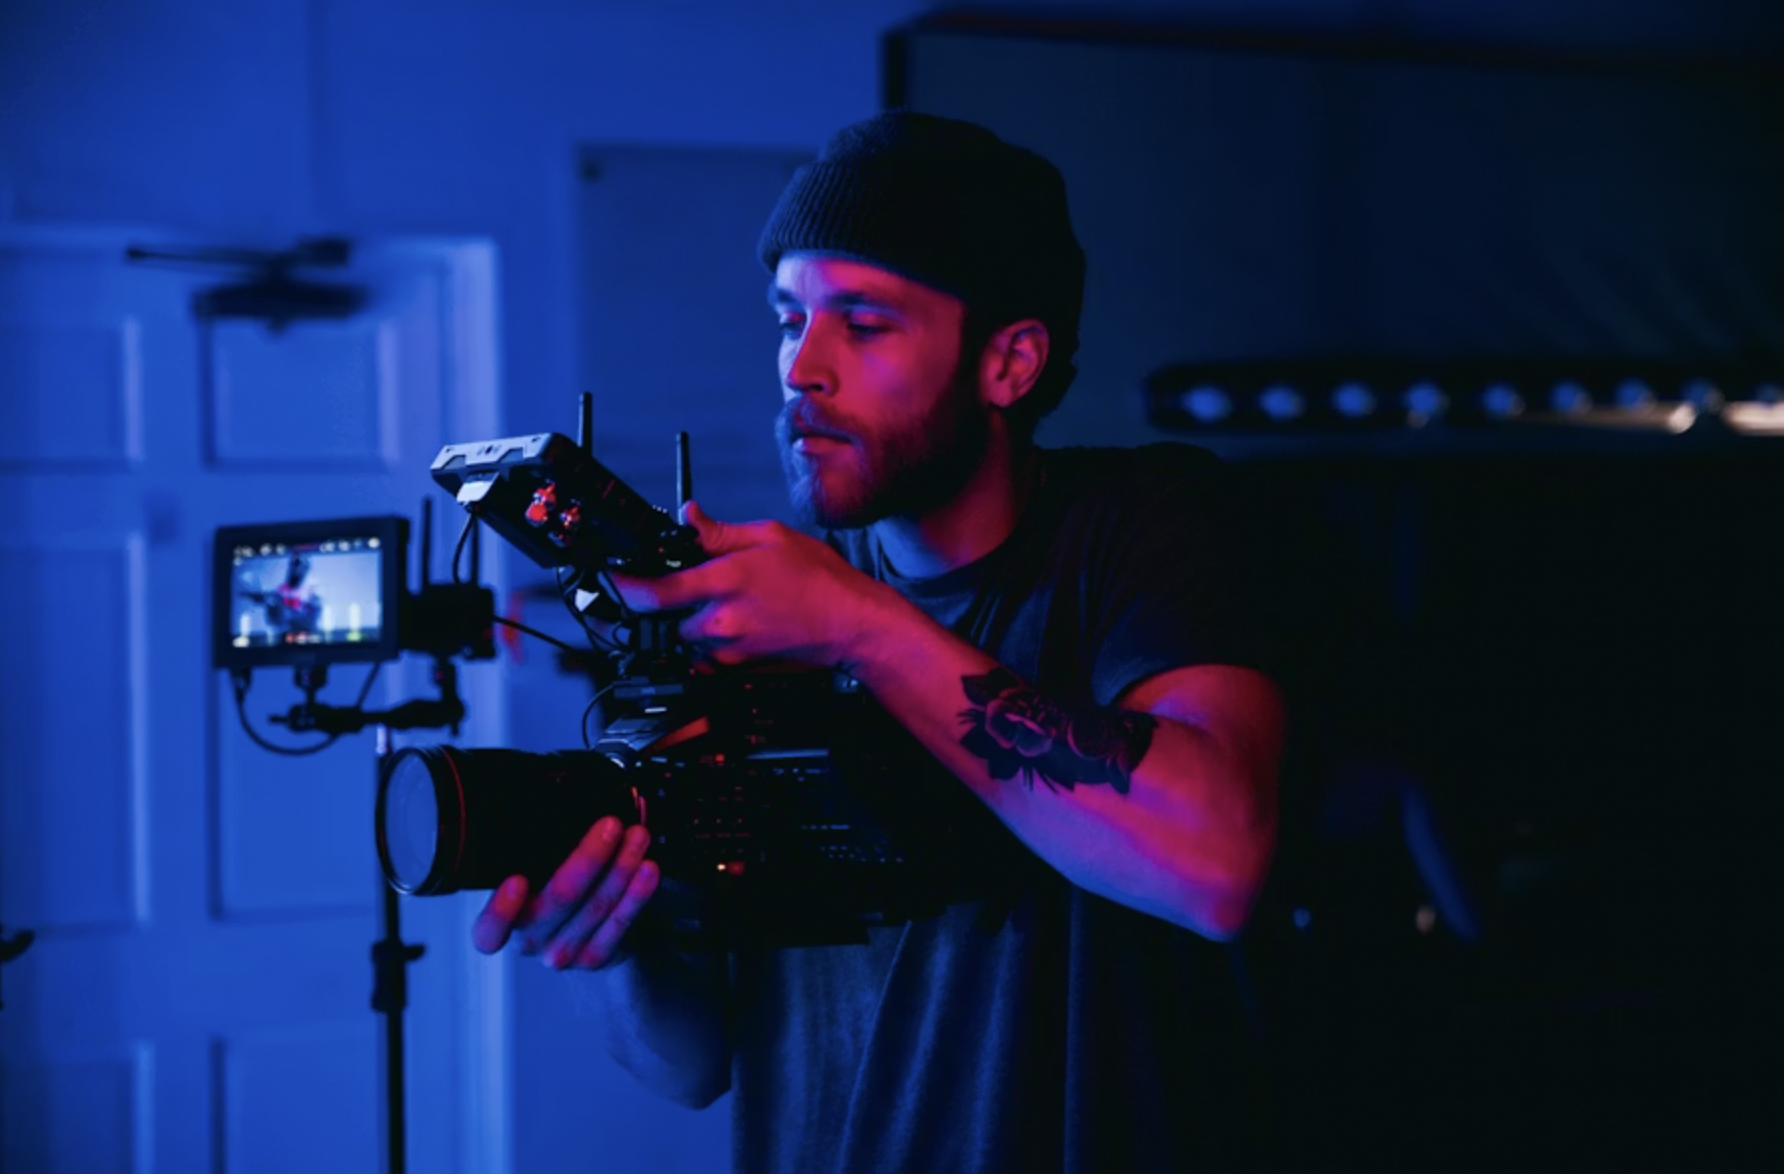
Camera
Your smartphone — iPhone 12 or later, Samsung Galaxy S20 or later — shoots footage that is entirely acceptable for self-tapes. What matters more than the device is how you use it. Shoot horizontally, not vertically. Lock your exposure and focus before recording. Make sure you are filling roughly 60–70% of the frame from the waist up.
If you want to step up from a phone, a Sony ZV-E10 or Canon M50 with a 16mm or 24mm lens produces exceptional self-tape footage for under $600 total. It is a one-time investment that will serve you for years and immediately separates your tapes visually from 95% of your competition.
Lighting — The Single Most Important Variable
Good lighting will make a mediocre camera look professional. Bad lighting will make a professional camera look amateur. The setup that works for most spaces:
- Key light: One softbox or ring light directly in front of you, slightly above eye level. This is your primary light source. A Neewer 18-inch ring light costs about $40 and changes everything.
- Fill light: A second, softer light source 45 degrees to the side to reduce harsh shadows. This can be a window on a cloudy day, a bounce card reflecting your key light, or a second smaller lamp.
- No backlight sources: Windows behind you blow out your image and make you appear as a dark silhouette. Face the window, never put it behind you.
- Avoid mixing light temperatures: Do not mix the warm light of a bedroom lamp with the cool light of a phone screen. Pick one temperature and commit to it.
Audio — Where Most Actors Lose the Callback
Casting directors will watch a tape with slightly soft focus. They will not sit through a tape with bad audio. Room echo, air conditioning hum, street noise, a refrigerator cycling — all of it reads as "this actor did not prepare." Here is the baseline:
- External microphone: A Rode VideoMicro or Rode SmartLav+ clips to your camera or shirt and delivers audio quality that built-in phone microphones physically cannot match. Cost: $60–$80. Return on investment: immediate.
- Room treatment: Record in a room with soft furnishings — a bedroom with a bed, a closet full of clothes, a carpeted room. Hard walls and tile floors create reverb that screams "untreated room."
- Silence check: Before every recording session, stop and listen. What can you hear? Turn off the HVAC. Note where the noise is coming from. Eliminate everything you can control.
Background
A clean, neutral background — a solid wall, a well-organized bookshelf, a simple backdrop — keeps the focus on you. A busy, cluttered background competes for attention. The casting director should see you, not your apartment. Greys and warm neutrals work well. Avoid stark white (blows out on camera) and strong patterns (distracting).
The Performance Side: What Casting Sees When They Watch
A sharp technical setup is the baseline. The performance is still everything. Here is what casting directors specifically watch for in self-tapes:
The First 5 Seconds
Your slate — name, agent if you have one, the role you are reading for — should feel like the first moment of the scene. Not nervous. Not stiff. Not reading off a mental prompt card. Look directly into the lens, say your slate information as if you are already in the scene, and let your energy set the tone for everything that follows. This sounds simple. It is not. Practice your slate with the same intention you practice the scene itself.
Eye Line
Your reader — the person reading opposite you off-camera — should be positioned just to the side of your camera lens, not across the room. The difference between eyes that drift eight inches left of camera and eyes that are nearly on-camera is the difference between feeling present and feeling distracted. Tape a small mark just to the left of your lens and direct your reader to sit there. For solo monologue tapes, find a single focal point at lens height and commit to it.
Energy — Playing to the Medium
The self-tape is an intimate medium. Stage energy and television energy are different. Stage energy and a 6-inch phone screen are wildly different. Small, specific, real choices read larger on camera than big theatrical choices. Calibrate down from your instinct and test it: record a take and watch it back. Does it feel honest or does it feel like you are performing? That gap is the single most important thing to close in your self-tape work.

Taking the Direction in the Breakdown
Casting directors include direction in the breakdown for a reason. They are telling you what kind of performance they need. If the breakdown says "warm, approachable, understated" and you bring intensity and edge — no matter how good your performance is, you have not done what they asked. Reading the breakdown carefully and executing the specific brief is a commercial booking skill that applies to every type of audition.
The Submission: How to Send It Right
- File naming: Name your file with your name and the role — FirstNameLastName_RoleName.mp4. Not audition_final_FINAL2.mp4. Basic professionalism is invisible when it is right and glaring when it is wrong.
- Format: MP4 at H.264 compression. Under 500MB. If you are using a smartphone, export directly from the camera roll without adding any compression filters.
- Submission platform: Follow the breakdown's submission instructions exactly. If they ask for upload to Actors Access — upload there. If they want an email attachment — send the attachment. If they want a WeTransfer link — use WeTransfer. Submitting through the wrong channel marks you as someone who does not read directions.
- Turnaround: Same-day whenever humanly possible. Casting directors work on tight timelines and review tapes as they come in. The actor who submits at 9pm the night before is competing with actors who submitted at 3pm the same day. Early tapes get more attention.
One thing that will kill an otherwise strong tape: calling attention to technical problems in your email cover note. "Sorry for the lighting, I was at my office." "My microphone died so the audio is a little rough." Casting directors now look for whatever you apologized for. Submit the best tape you can produce and say nothing else. If the technical quality is genuinely unacceptable, reshoot it before you send it.
When to Use a Professional Facility
For your most important self-tapes — callback rounds, network-level television, major commercial campaigns — investing in a professional self-tape facility removes every variable. A facility like Creation Station Studios provides professional lighting, multiple backdrop options, high-quality camera equipment, and an experienced reader who understands how to support your performance without stepping on it.
The cost of one professional session is almost always less than the cost of the job you would lose by submitting a home setup that is technically below the standard of your competition at that level. Know when the stakes are high enough to invest accordingly.
Master the Self-Tape System
The Bookable Actor teaches the full self-tape curriculum — setup, performance, submission, and follow-through — directly from two working actors who have navigated this process at every level of the industry.
Join as a Founding Member